October 07, 2026


A briar pipe is a simple object: a bowl, a shank, a stem and a hole running the length of it. Buying your first one, though, can feel like standing in a tobacconist's with twenty questions and no idea which to ask first. The good news is that almost none of this is complicated once you know what you are looking at. Here is a working checklist — what to look for in the shop, what to spend, and how to treat the thing for the first ten smokes so that it rewards you for years rather than months.
Most beginners reach for the biggest, handsomest pipe on the shelf. Resist it. A large chamber holds a lot of tobacco, a lot of tobacco means a long smoke, and a long smoke means heat, moisture and a tongue that feels like sandpaper by the end of the evening. A medium bowl — chamber roughly 19–20mm across and 35mm deep — will keep you going comfortably for half an hour and teach you far more than a cavern will.
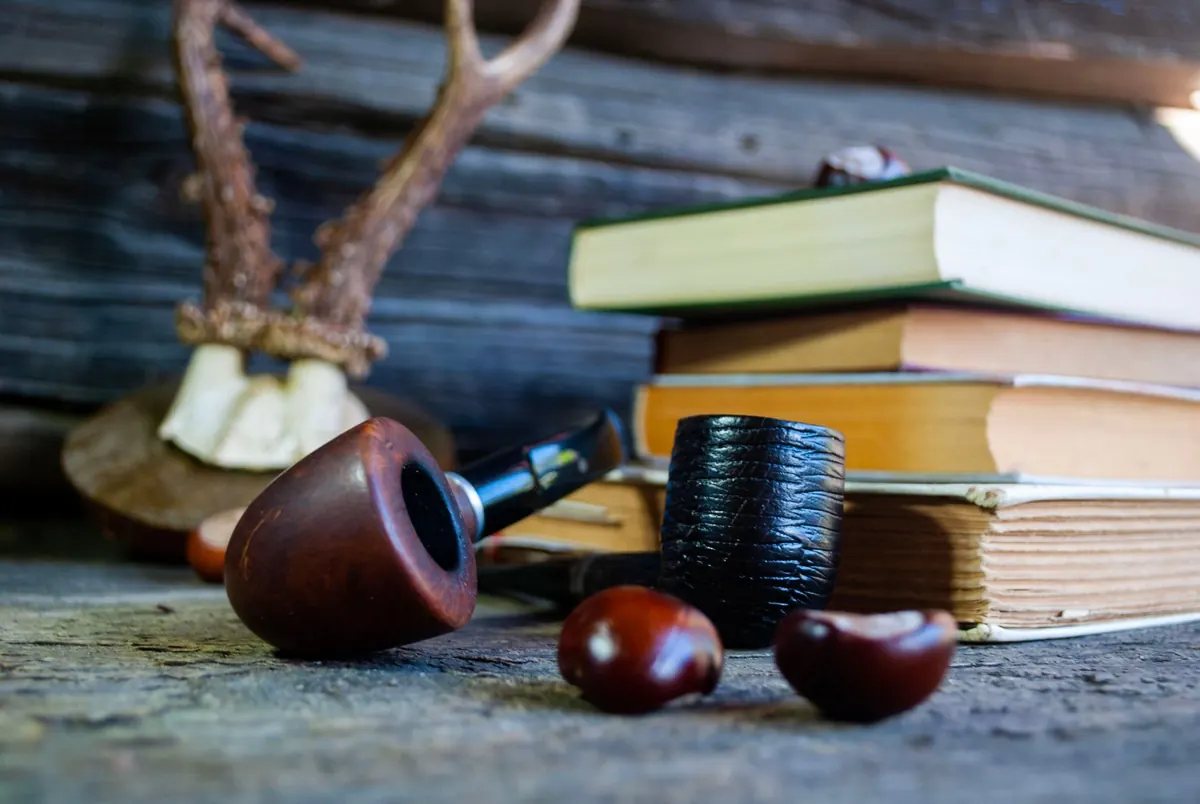
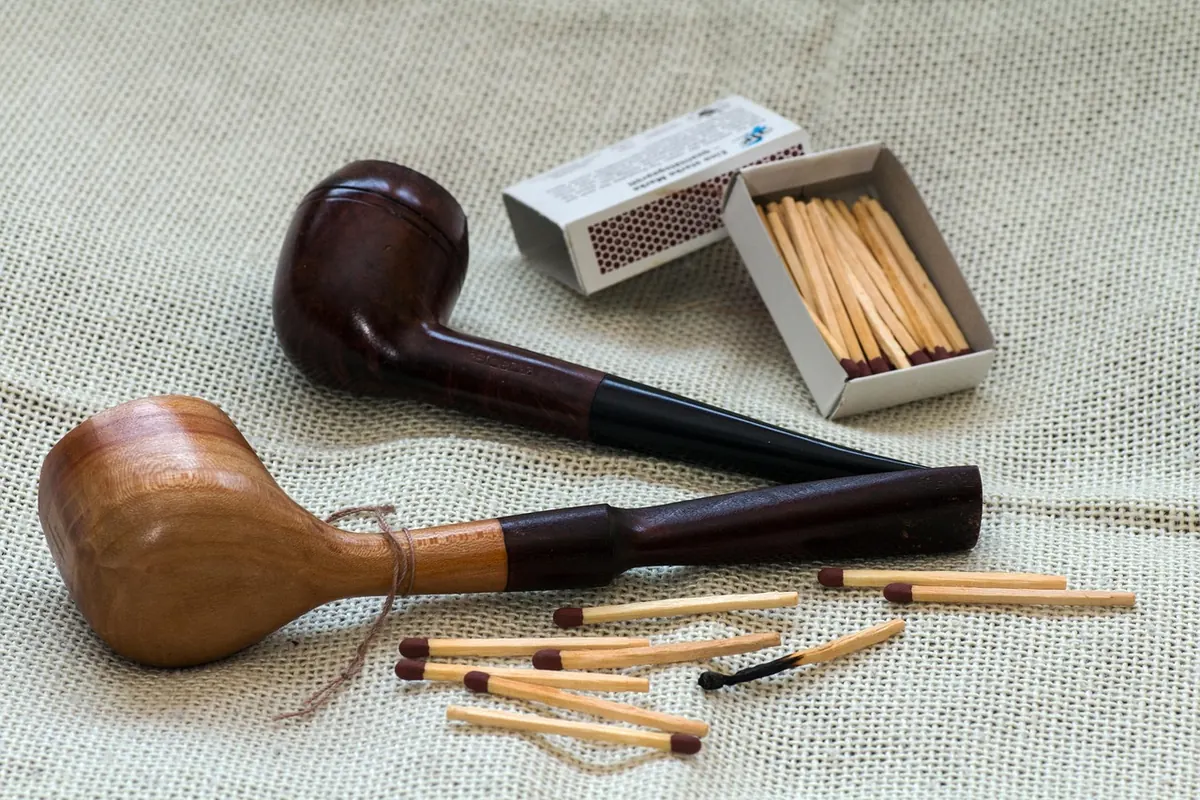
Shape matters less than geometry. Straight pipes are easier to begin with: gravity works with you, moisture collects less, and a pipe cleaner passes from bit to bowl without argument. A bent pipe looks wonderful and smokes perfectly well, but a full bend will gurgle sooner if your technique is still developing. Billiards, pots, apples and lovats are all sensible first choices. Save the oversized freehand for your third or fourth pipe.
You do not need an expensive pipe to learn on. You do need a pipe that is drilled properly, and that is the distinction worth paying for. The two things that matter most are the draught hole meeting the bottom of the chamber cleanly, and the stem sitting flush against the shank with a smooth mortise and tenon. Get those right and the pipe will smoke dry and sweet; get them wrong and no amount of polishing will save it.
A well-made factory pipe from an established maker is a perfectly good starting point. Estate pipes are worth a look too — a used briar from a decent name, properly cleaned, often smokes better than a new one at the same money. Inspect anything second-hand for a burnt-out chamber, cracks in the bowl, a stem chewed through at the bit, and a sour smell that will not lift after cleaning. If any of those are present, walk away.
And do not over-invest in pipe number one. You will char the rim once or twice, you will let it get hotter than you meant to, and you will probably drop it. That is normal. Learn on something you are not frightened of.
Vulcanite, also called ebonite, is a rubber-based material. It is soft, warm and comfortable between the teeth, but it oxidises over time, turning a dull green-brown that needs occasional polishing. Acrylic is hard, glassy, unaffected by sunlight and extremely durable, though some find it unforgiving to clench. Cumberland is a brindled form of vulcanite, a little harder wearing and undeniably handsome. This is a question of comfort rather than smoke quality.
Look at the bit itself, too. A thinner, tapered bit is easier to hold in the teeth than a thick saddle one, which matters if you like to smoke hands-free. If you clench hard, choose a lighter pipe. Weight in the jaw is the most common reason a beginner's first pipe ends up sitting in the rack.
Then there is the filter question. Filtered pipes, usually taking a 9mm cartridge, trap moisture and some of the heavier compounds in the smoke, which can make life easier while you are learning. Unfiltered pipes give a more direct flavour and need a pipe cleaner run through mid-smoke if things get wet. Pick one approach and stay with it — switching back and forth teaches you nothing.
The point of breaking in a pipe is to build a thin, hard, even layer of carbon on the chamber walls. Thin and hard is the goal. Thick and spongy is a problem, and it happens when a pipe is smoked hot, wet and often. Plan for roughly ten smokes, spaced out, and treat them as practice rather than pleasure.
After ten smokes you should see a thin grey-black film inside the chamber, dry to the touch. If it feels thick or flaky, wipe it back with a folded paper towel and slow down. Never scrape a new bowl with a knife or ream it — there is nothing in there worth cutting out yet.
Tobacco choice matters more than you might expect at this stage. A straightforward ribbon-cut Virginia, a mild English blend or a simple burley will burn cool and dry, and they forgive a shaky packing technique. Aromatics smell wonderful in the tin and are the single most common reason beginners give up: they tend to burn hot and wet, and they will not flatter a pipe that is still learning its job. Buy small quantities, try one thing at a time, and keep notes if you are the sort of person who enjoys that.
Keep the pipe clean, keep the flame low, rest it between smokes, and expect the first ten bowls to be mediocre. By bowl forty you will have stopped thinking about the mechanics and started noticing the flavour. That is the whole trick.
Smoking tobacco is addictive and causes serious harm to health. If you do not smoke, the best advice is not to start. If you are concerned about your health or about nicotine dependence, speak to your GP or pharmacist.
Photo: domeckopol / Pixabay
The magazine for briar pipe enthusiasts.
Copyright © 2026 Briar Mag. All rights reserved. Briar Mag.